Showing posts with label kiss nail art paint. Show all posts

Saturday, September 8, 2012

Tape Series - "Striped Half Moon."

Hello Hello!

I know you're probably surprised. A second tutorial within the same month!? It's been a while where I updated on a normal basis, but now, I have the resources to post. So everything will be a lot easier.

So for today's tutorial, I got inspired by the half moon designs I've been seeing lately. Now if you haven't seen this design before, let me try to explain it to you. You can wear it as a french nail design, BUT it's a lot lower than a normal french manicure. It goes I'd say about 2/3rds way down from the tip of your nail.

It's really easy and quick! I was inspired and did my own twist to it. I hope you like here.

Let's get started!

MATERIALS USED: 
- OPI "Natural Base Coat"
- Sally Hansen "French White Tip" as my base
- Kiss Nail Art Pen "Black" to draw the stripes
- Love and Beauty "Gray" for the tips.
- OPI "Top Coat"
- 3 Ring Paper Reinforcers from the Dollar Tree

STEP 1. 
As always, use a base coat. If you don't have a base coat, you can use a top coat. I do it sometimes when I run out of a base coat.
WAIT FOR THIS COAT TO DRY.

STEP 2. 
I used the Sally Hansen "French White Tip" over my entire nail.
Tip - I noticed as I did my nails you don't need to waste the nail polish and can do it about halfway on your nail - starting from the base. (YOU CAN IGNORE THIS TIP IF YOU WANT TO.)
WAIT FOR THIS COAT TO DRY.

STEP 3. 
I used my nail art pen to draw some lines. You can draw the lines in whichever direction you want. I choose to do mine in a slanted vertical lines. I only did the lines up half way to not waste nail polish.
WAIT FOR THIS TO DRY.

STEP 4. 
I took one reinforcer, stuck it on my skin and took it off a couple of times. This reduces the stickiness, and it won't pull off the nail polish. I placed it 2/3rds of the way down on my nail.
Then I took my gray nail polish and painted ABOVE the reinforcer.
WAIT FOR THIS COAT TO DRY.


STEP 5. 
Remove the reinforcer CAREFULLY. Put a top coat on.

That's it!
I hope you like it!

Until next time,
Stace.

Friday, May 4, 2012

Tools that will help you get started...

Hello Hello!

To get started with my blog I decided to have an entry about the nail tools I constantly use on a constant basis. As corny as it sounds I really couldn't have done some of the designs I've done without them.

The first is the Sally Hansen Nail Art Pen. I have it in black and white. I bought both of them at CVS for $7.99 each. The black one will be worth your while the white one sucks. It barely shows and you have to go over it about 3-4 times. But this is what I use to draw most of my lines and dots. It's simple and it's like using a pen. This is what the pen looks like in the box, what it looks like without the box, and the actual tip of the pen. I think it's worth the money for a beginner. The lines come out straight forward. You can make the lines thick or thin. Sorry the lines kinda smeared into the paper I drew the lines in ): But that's what they look like.
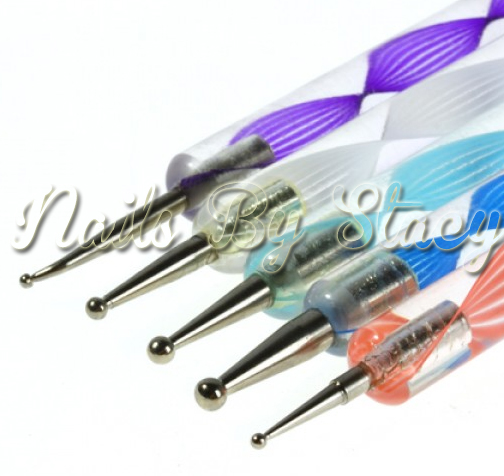
The second that I'm sure you've seen a lot of is the dotting tool. It's easy and makes perfect circles. HOWEVER, they're expensive as hell. Not worth the money if you ask me. You can make your own dotting tools with things that you have around the house. You can make dotting tools out of old pens (without any ink), toothpicks (my personal preference), bobby pins, and pins stuck into erasers.
With the toothpicks what I do is try to get the tip shaped like a bobby pin tip end. I just roll the toothpick around in some nail polish make it round and let it dry. It'll then create the dots you're looking for. If you want big dots, continuously roll the toothpick into the nail polish until you get your desired circle.
The last tool I use a lot also is the Kiss Nail Art Paint I usually use this to make lines as well. It's a little difficult to use in my opinion compared the Sally Hansen Nail Art Pen since you need to have a steady hand and do the stroke in one motion. It's usually cause of this brush that I end up having to redo my nails.

Well that's all the nail tools I use on a daily basis.


Hope that helps!
Stace.